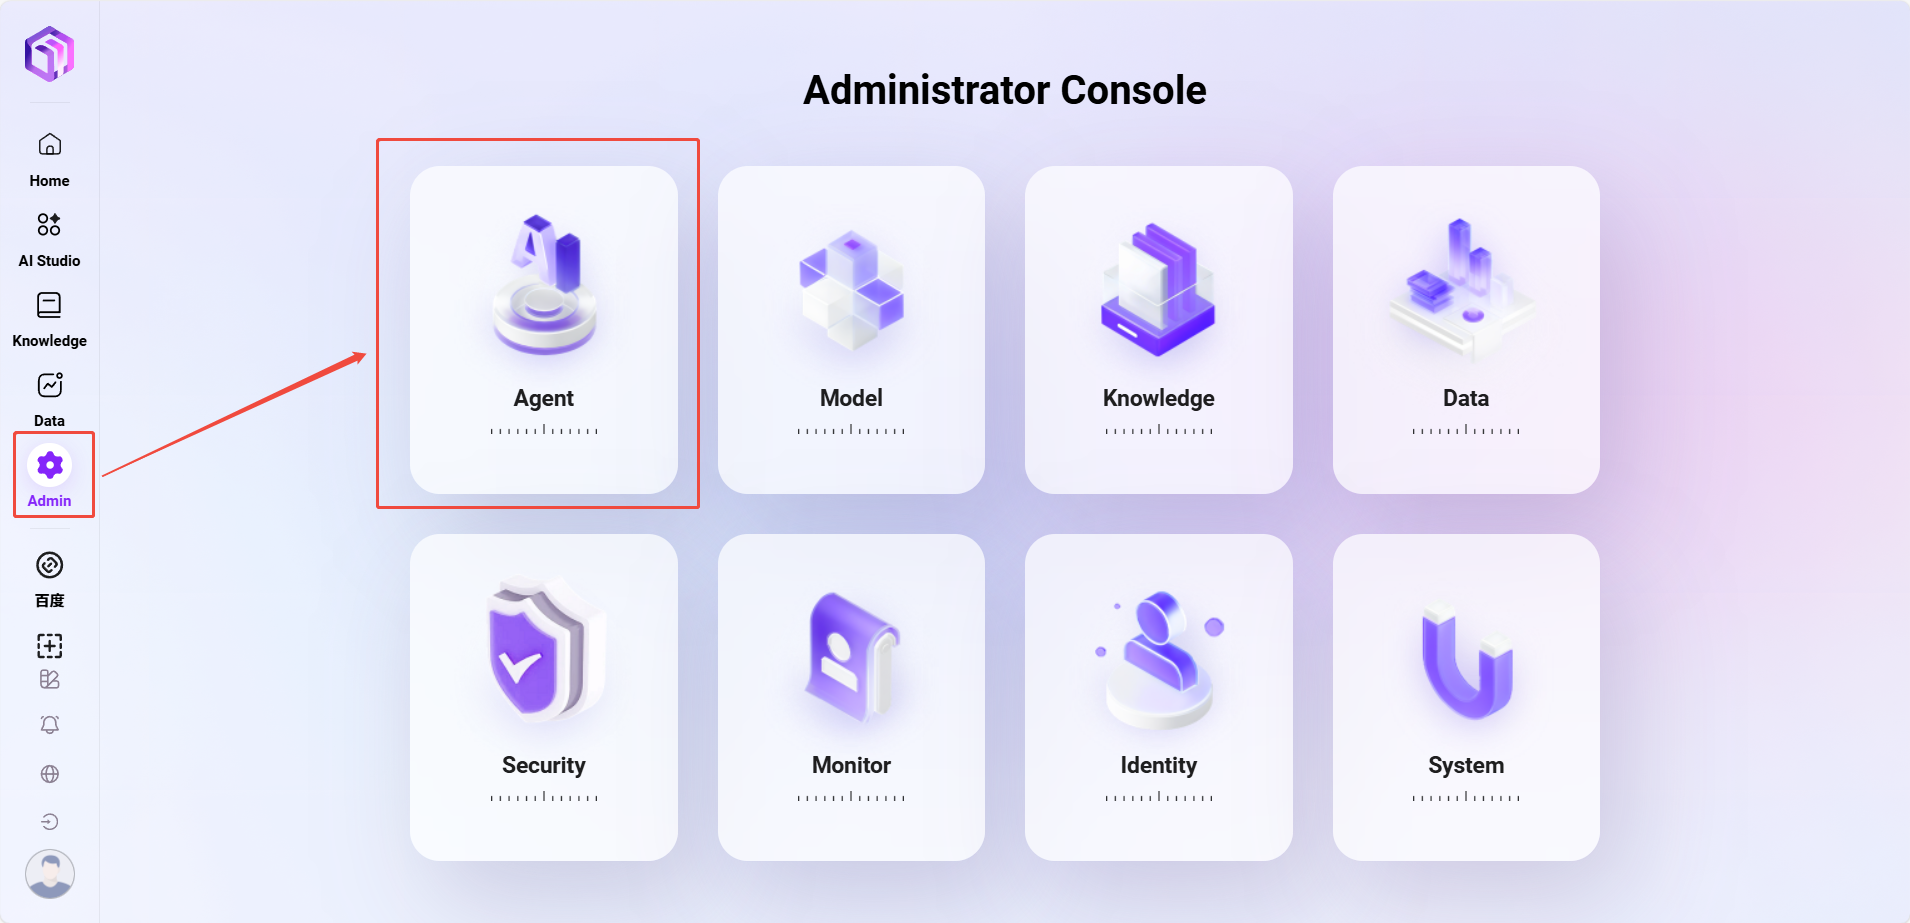
How to Manage the AI Application Center
The entry point for AI Studio management is shown below:
Personal AI Studio
Personal AI Studio is a private space for users to create, test, and use AI resources. Users can freely manage and optimize their personal AI resources here.
Agent Management
Administrators can manage personal agents in the system. These agents are AI assistants created by users according to their own needs. Through agent management, users can organize, maintain, and optimize their AI assistant resources.
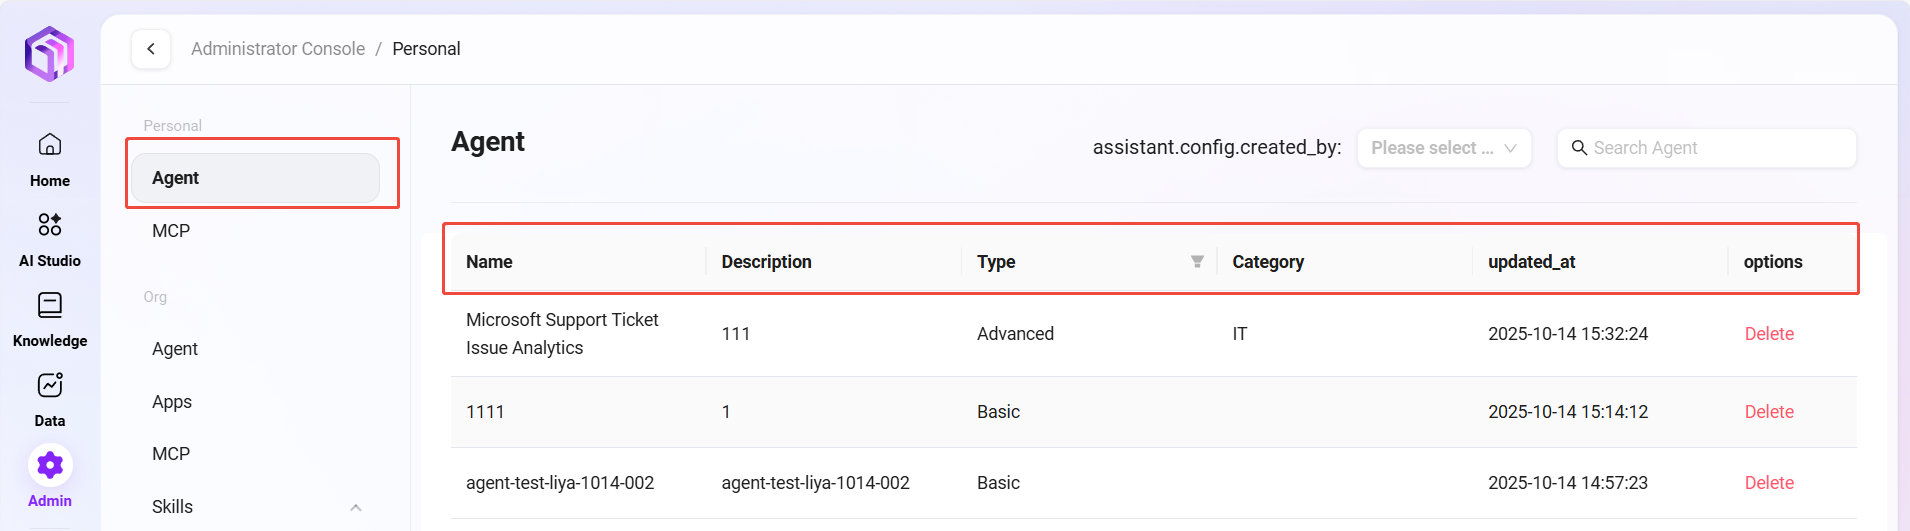
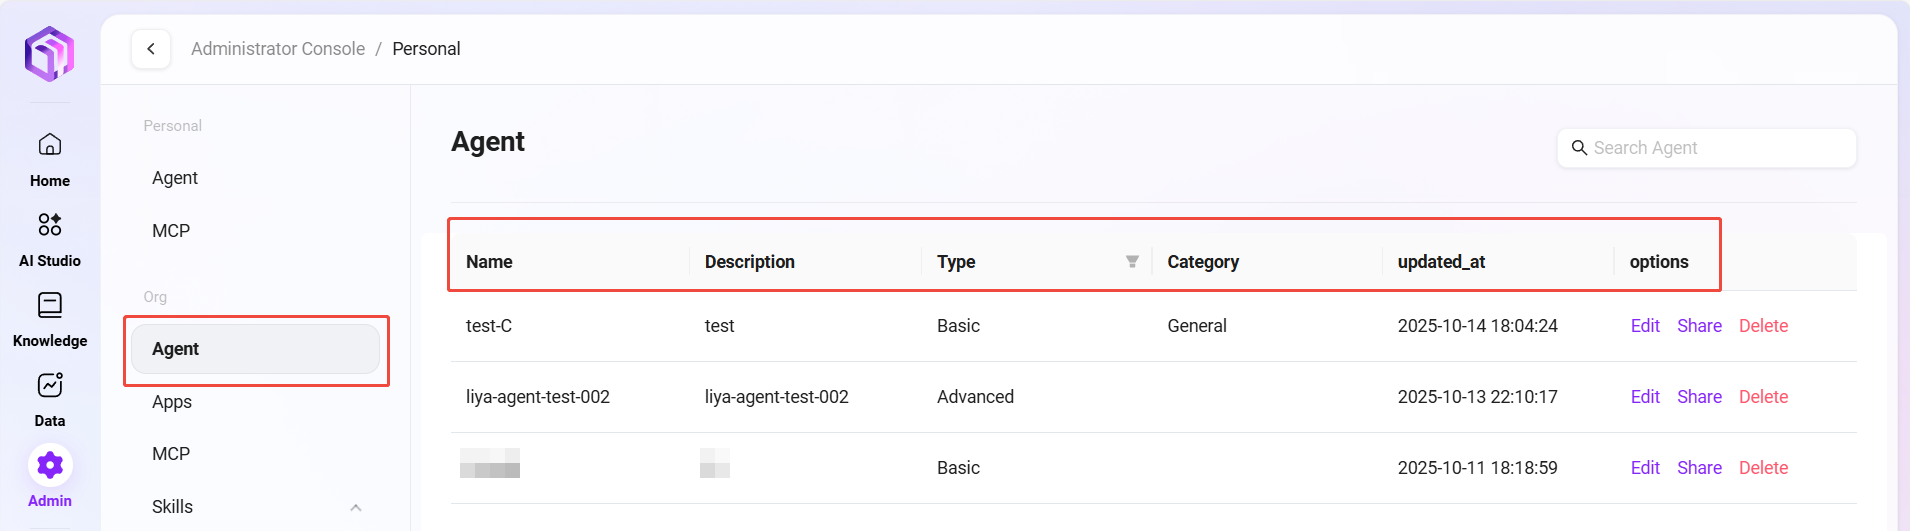
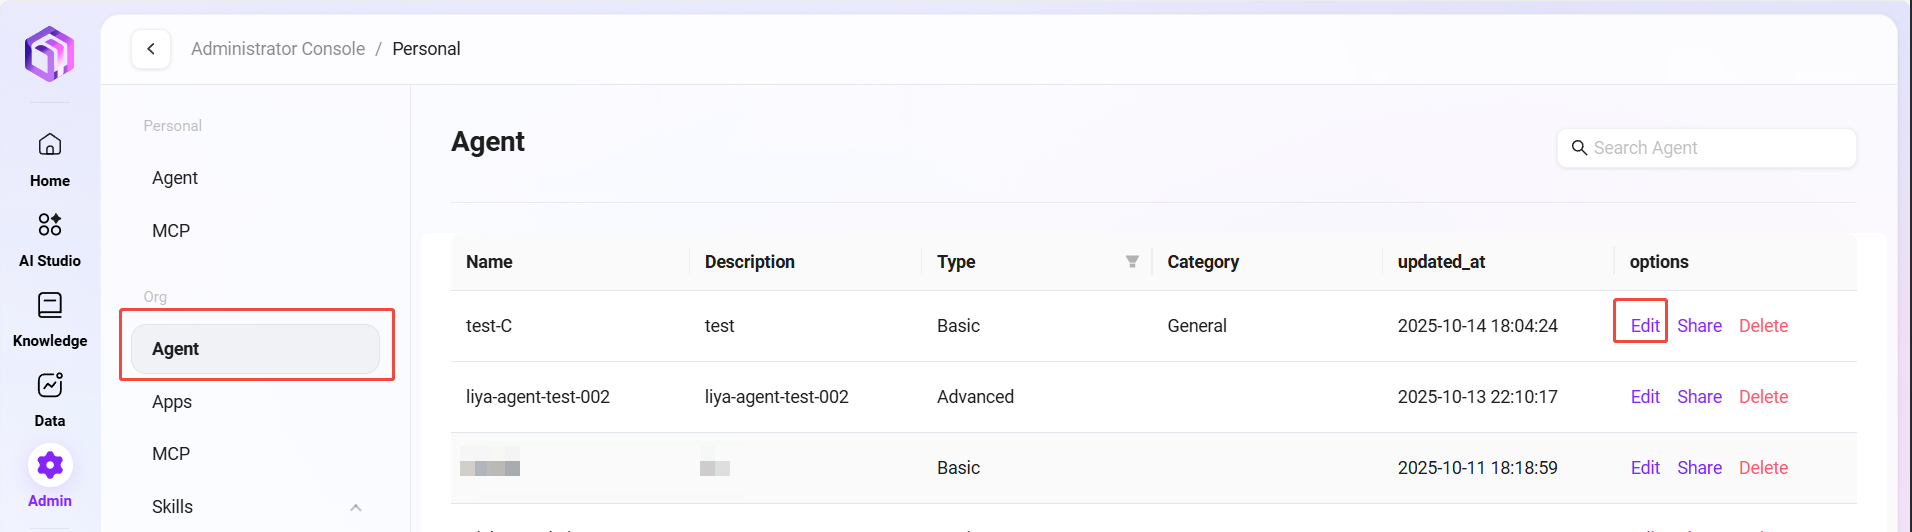
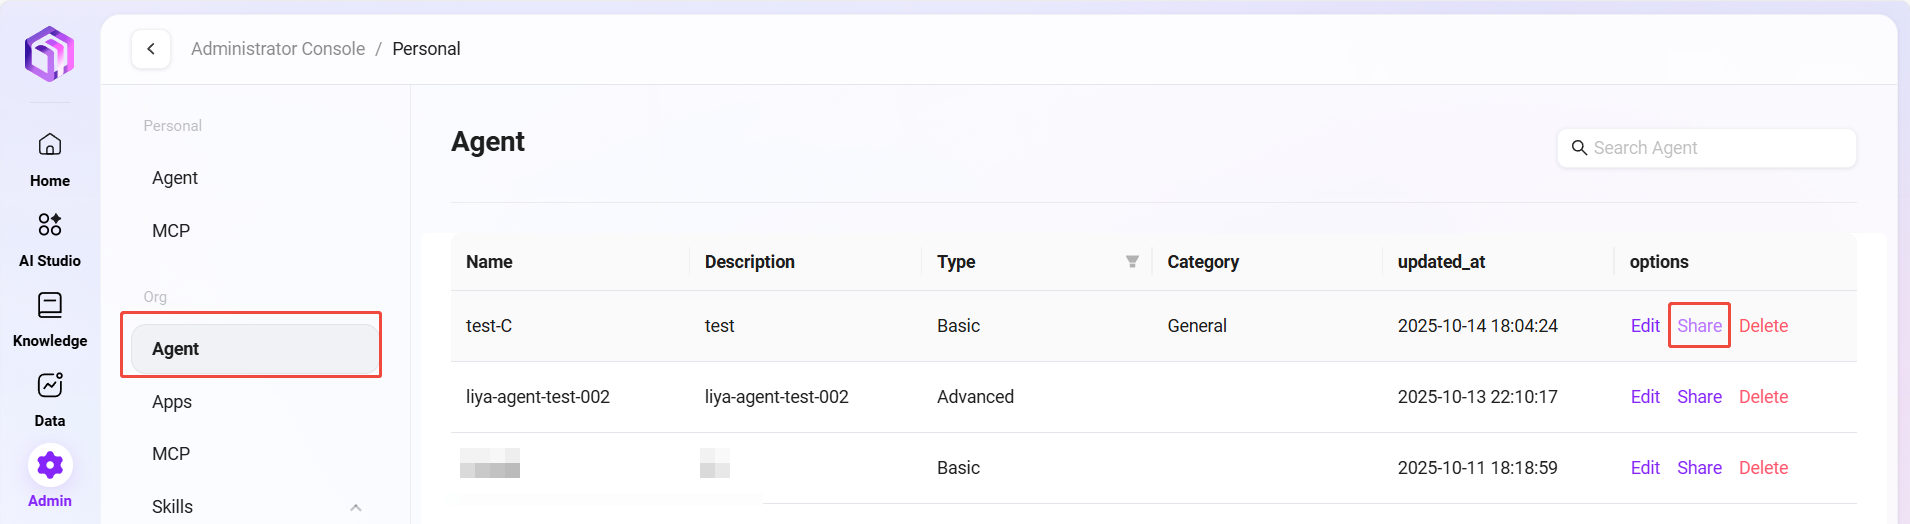
View Agent List
- Enter the Agent Management page: Navigate to "Personal -> Agent Management"
- View created agents: The system will list all created agents, including each agent's name, type, description, category, creation time, and other information.
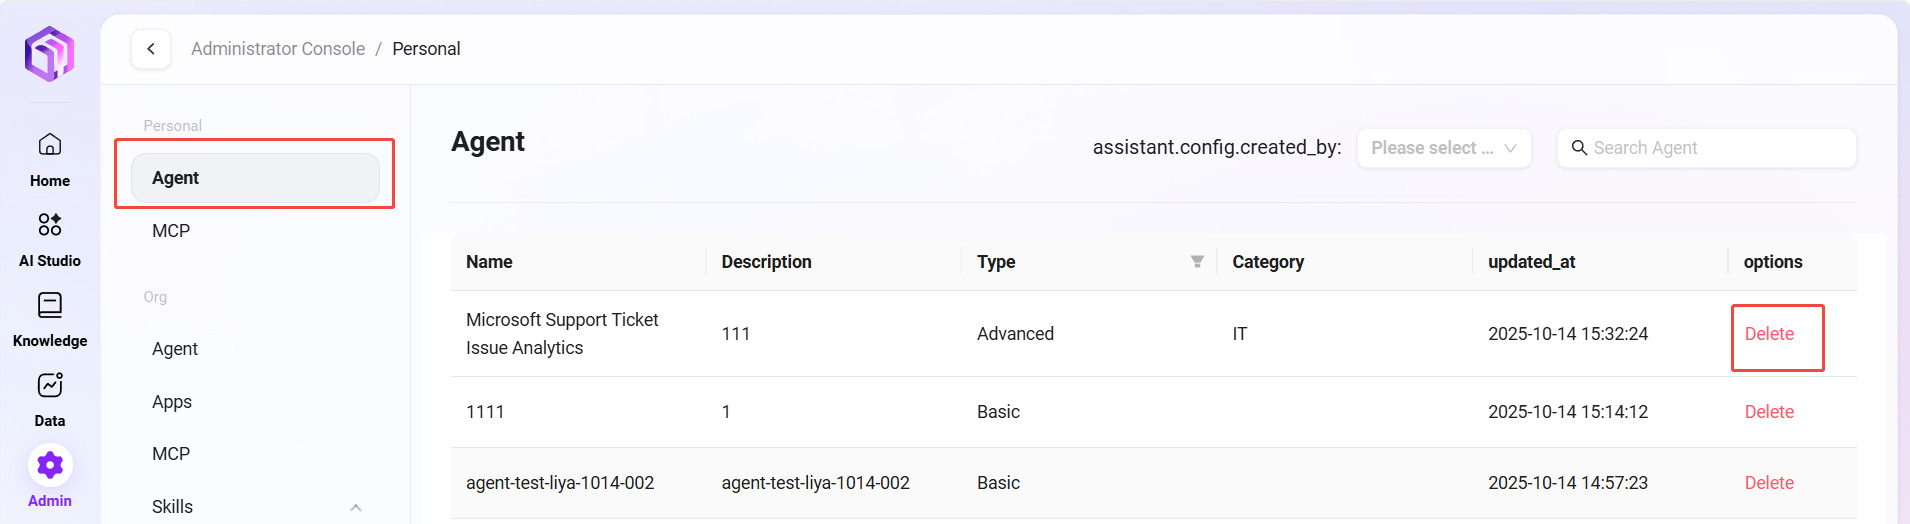
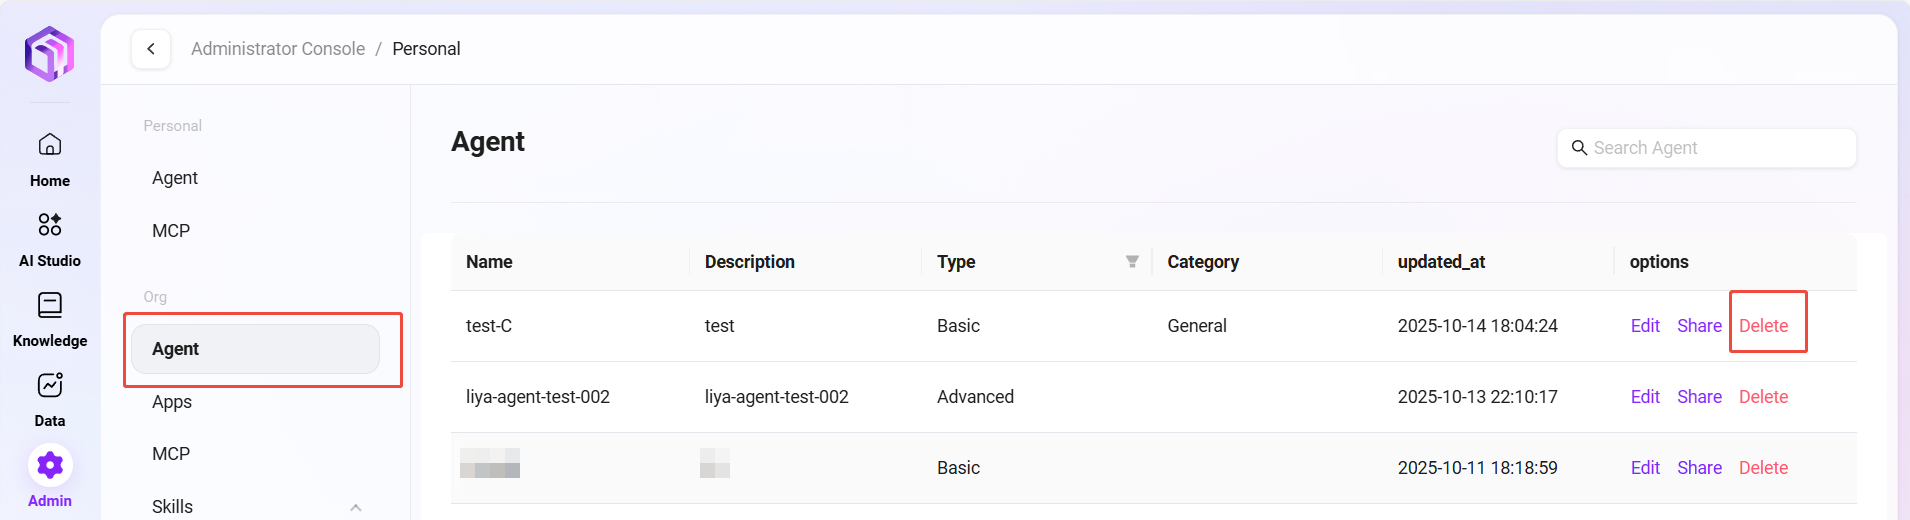
Delete Agent
- Select the agent to delete: Select the item to be deleted in the agent list.
- Click the "Delete" button: Click the "Delete" button in the operation column.
- Confirm deletion: The system will pop up a confirmation dialog. After confirmation, the agent will be deleted.
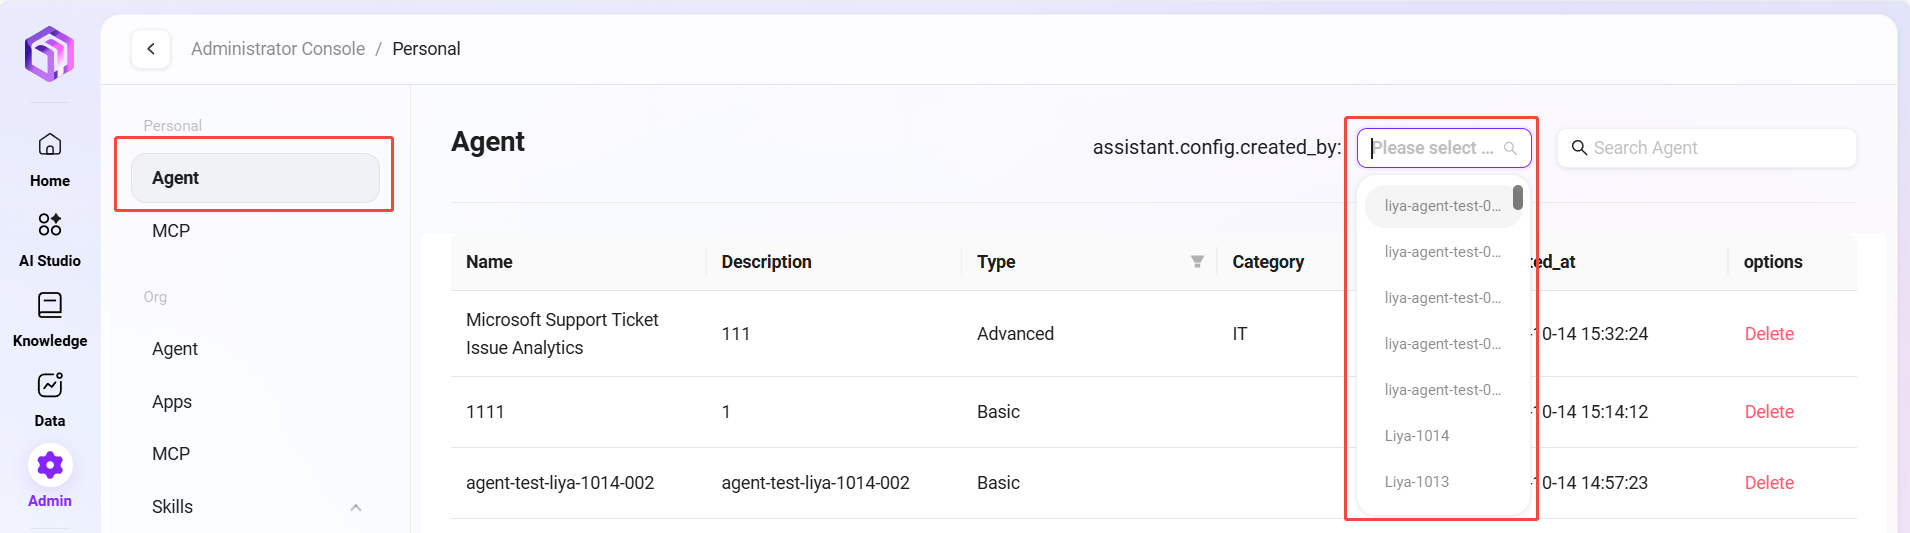
View Agent Creator
- Locate the user selector: Find the user selection control at the top right corner of the agent management page.
- Click to view creators: Click this control to view and filter the list of agents created by specific users.
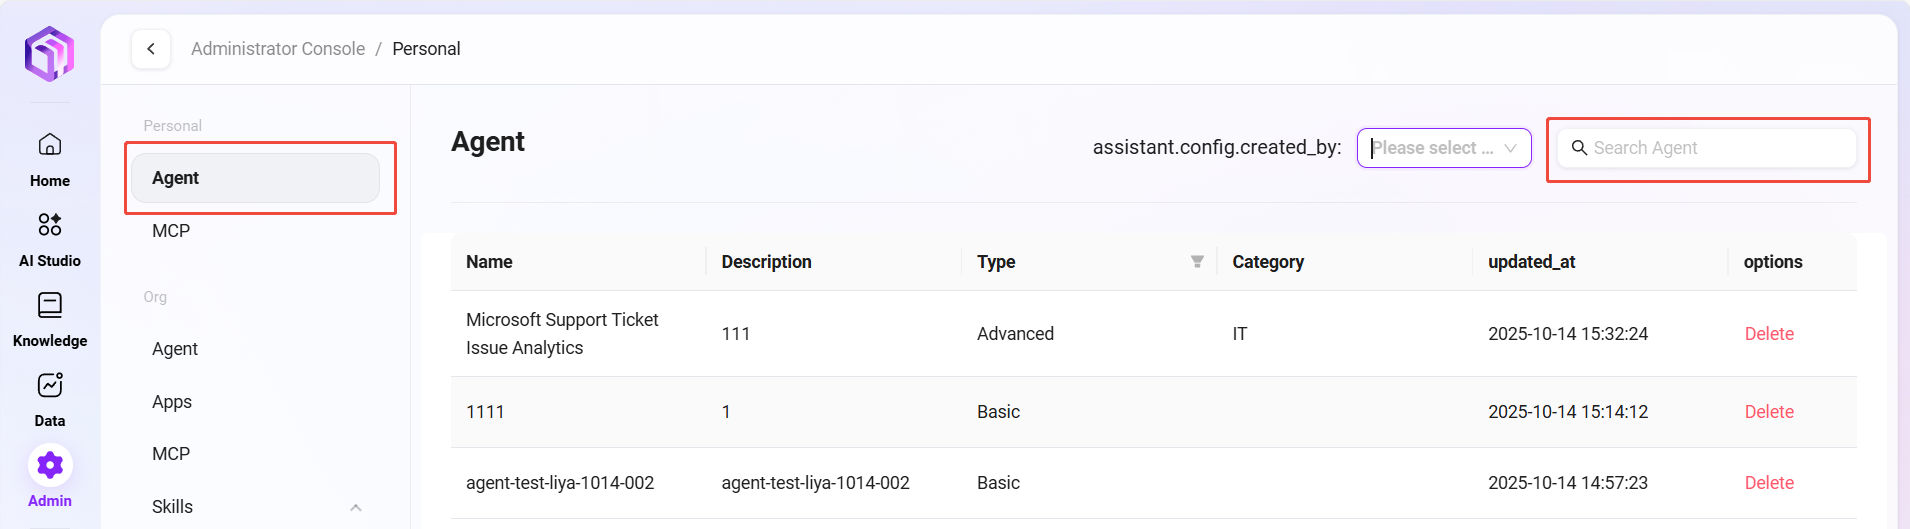
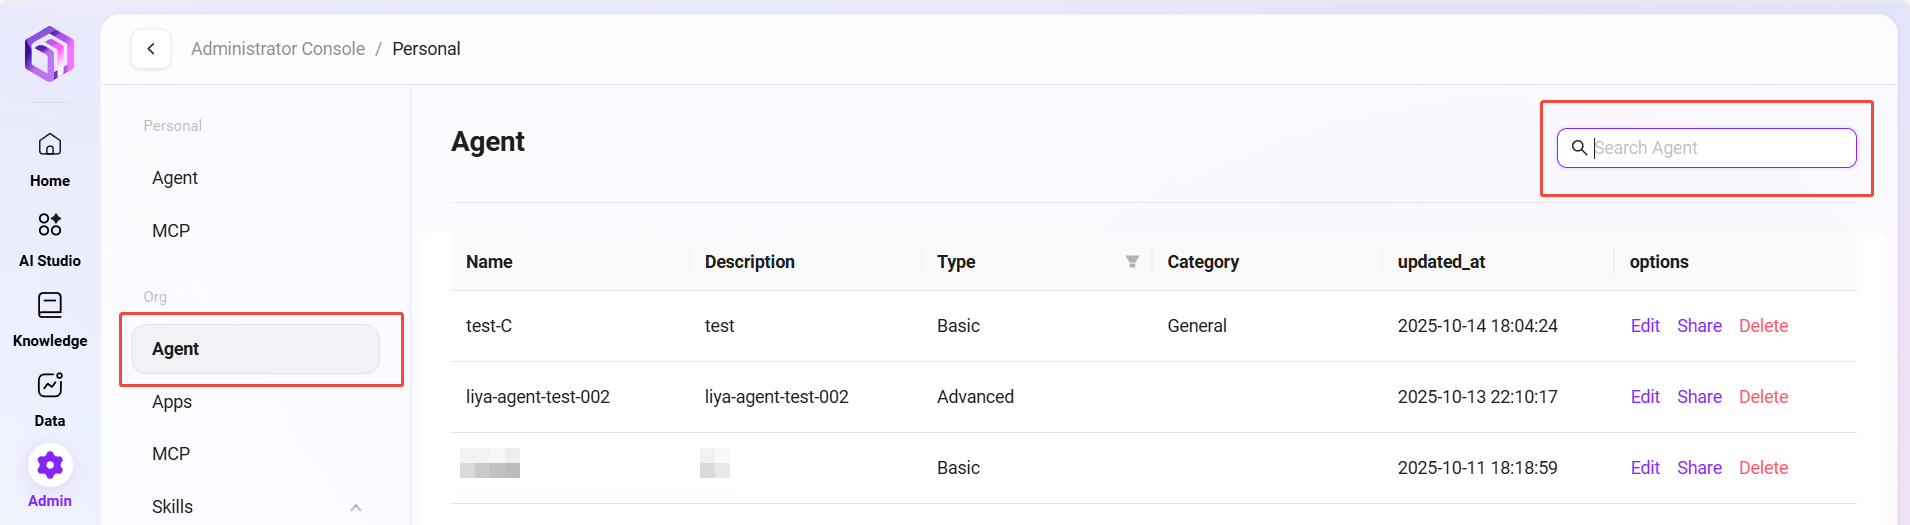
Search Agent
- Enter the search function: Enter keywords in the search box on the agent management page.
- Execute search: Click the search icon or press Enter to search.
- View search results: The system will display a list of agents matching the search criteria.
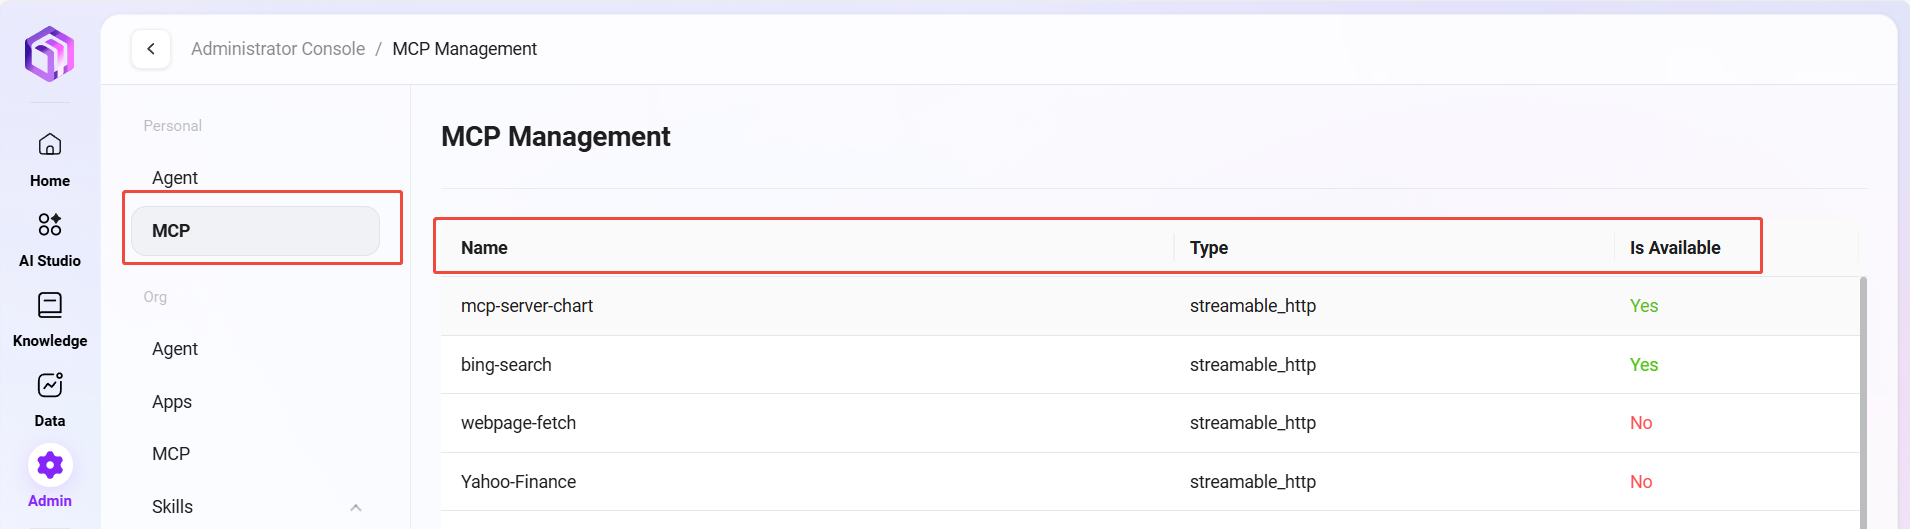
MCP Management
Administrators can manage personal MCP services in the system. These services are used to extend the external capabilities of agents. Through MCP management, users can connect various external tools and data sources to their personal agents.
View MCP List
- Enter the MCP Management page: Navigate to "Personal -> MCP Management"
- View configured MCP services: The system will list all configured MCP services, including each MCP's name, type, availability, and other information.
Organization AI Studio
Organization AI Studio is managed by administrators or super administrators, aiming to achieve unified management, security control, and collaborative sharing of enterprise-level AI resources, ensuring standardization and efficient utilization of AI resources within the organization.
Organization-level Agent Management
Administrators can manage organization-level agents in the system. These agents are AI assistants that have been reviewed and promoted to organization-level resources. Through organization agent management, administrators can ensure the quality and consistency of AI assistants within the organization.
View Organization Agent List
- Enter the Organization Agent Management page: Navigate to "Organization Studio -> Agent Management"
- View organization-level agents: The system will list all organization-level agents, including each agent's name, type, description, category, creation time, and other information.
Edit Agent
- Select the agent to edit: Select the item to be edited in the organization agent list.
- Click the "Edit" button: Enter the edit page where administrators can modify the agent's configuration parameters and functional settings.
- Save changes: After editing, click the "Save" button to update the agent configuration.
Share Agent
- Select the agent to share: Select the agent to be shared in the organization agent list.
- Click the "Share" button: The system will generate a dedicated share configuration code; copy and save the code.
- Confirm sharing: When creating an agent, select the configuration code, paste the code, and click the "Confirm" button to complete the sharing operation.
Delete Agent
- Select the agent to delete: Select the item to be deleted in the organization agent list.
- Click the "Delete" button: Click the "Delete" button in the operation column.
- Confirm deletion: The system will pop up a confirmation dialog. After confirmation, the agent will be removed from the organization list.
Search Agent
- Enter the search function: Enter keywords in the search box on the organization agent management page.
- Execute search: Click the search icon or press Enter to search.
- View search results: The system will display a list of organization agents matching the search criteria.
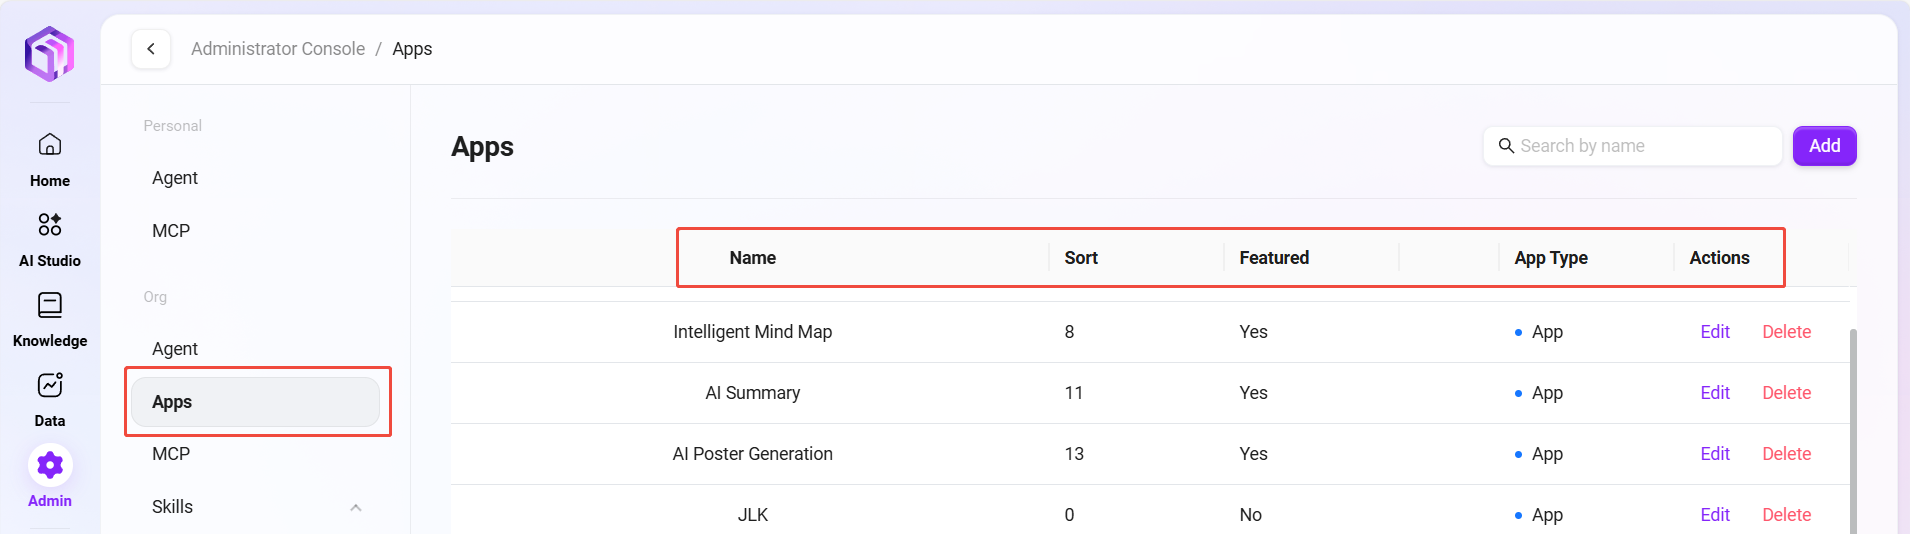
Organization-level APP Management
Administrators can manage organization-level applications in the system. These applications are various tools and services integrated into the platform. Through organization-level APP management, administrators can build a unified work portal and toolset.
View APP List
- Enter the Organization APP Management page: Navigate to "Organization Studio -> APP Management"
- View organization-level APPs: The system will list all organization-level APPs, including each APP's name, order, recommendation status, application type, and other information.
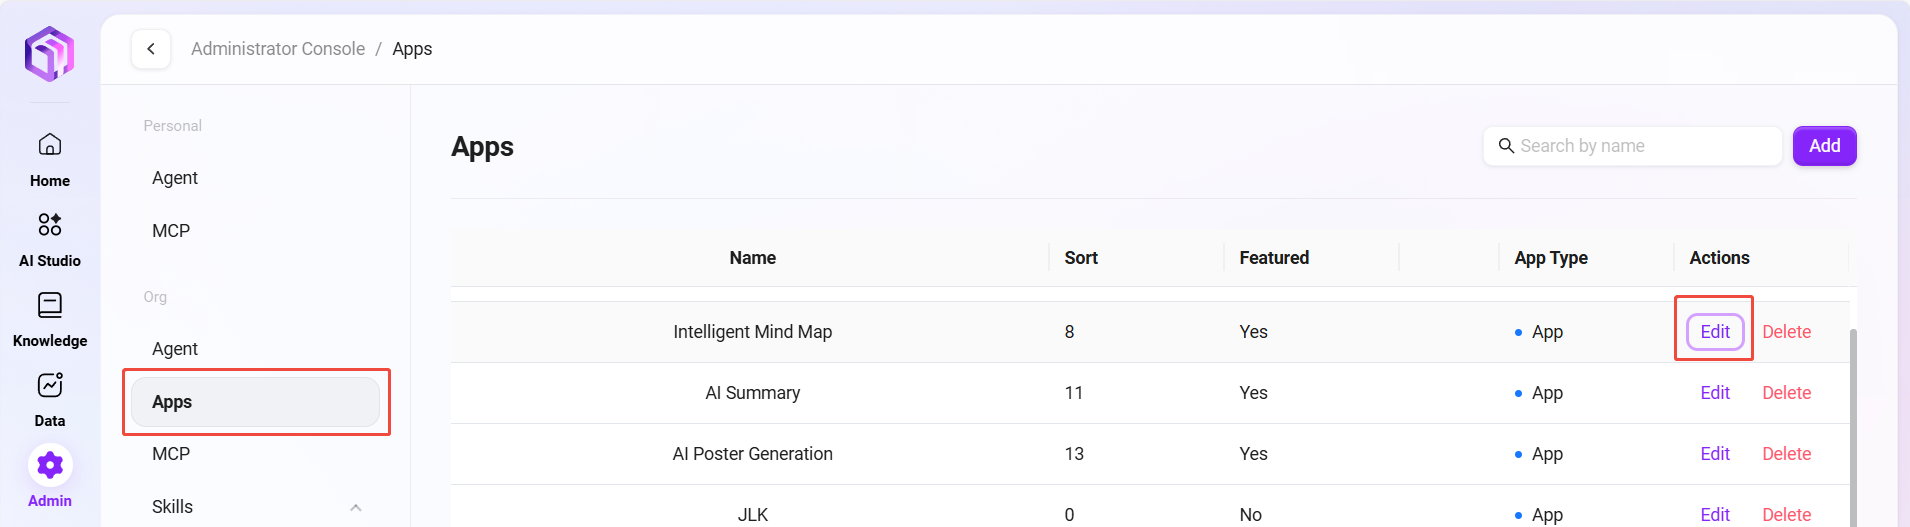
Edit APP
- Select the APP to edit: Select the item to be edited in the organization APP list.
- Click the "Edit" button: Enter the edit page where administrators can modify the APP's basic information, configuration parameters, and display settings.
- Save changes: After editing, click the "Save" button to update the APP configuration.
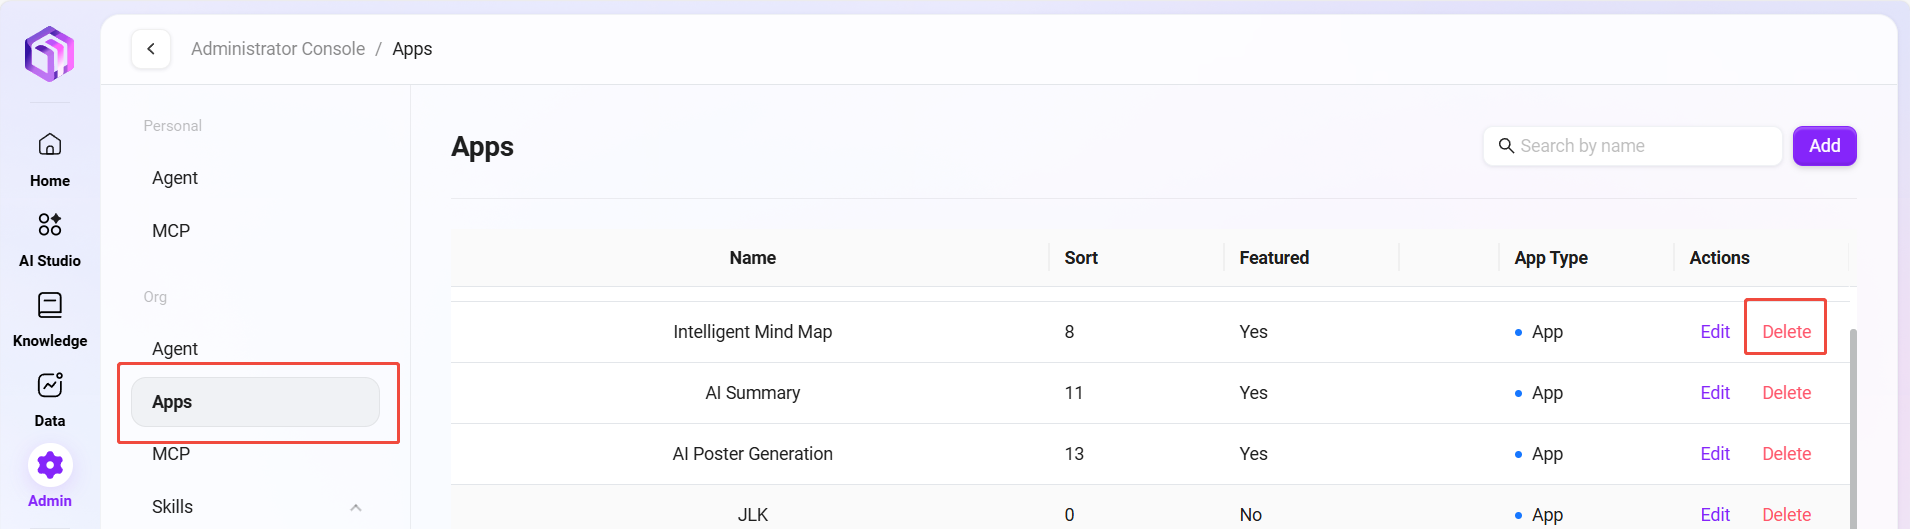
Delete APP
- Select the APP to delete: Select the item to be deleted in the organization APP list.
- Click the "Delete" button: Click the "Delete" button in the operation column.
- Confirm deletion: The system will pop up a confirmation dialog. After confirmation, the APP will be removed from the organization application list.
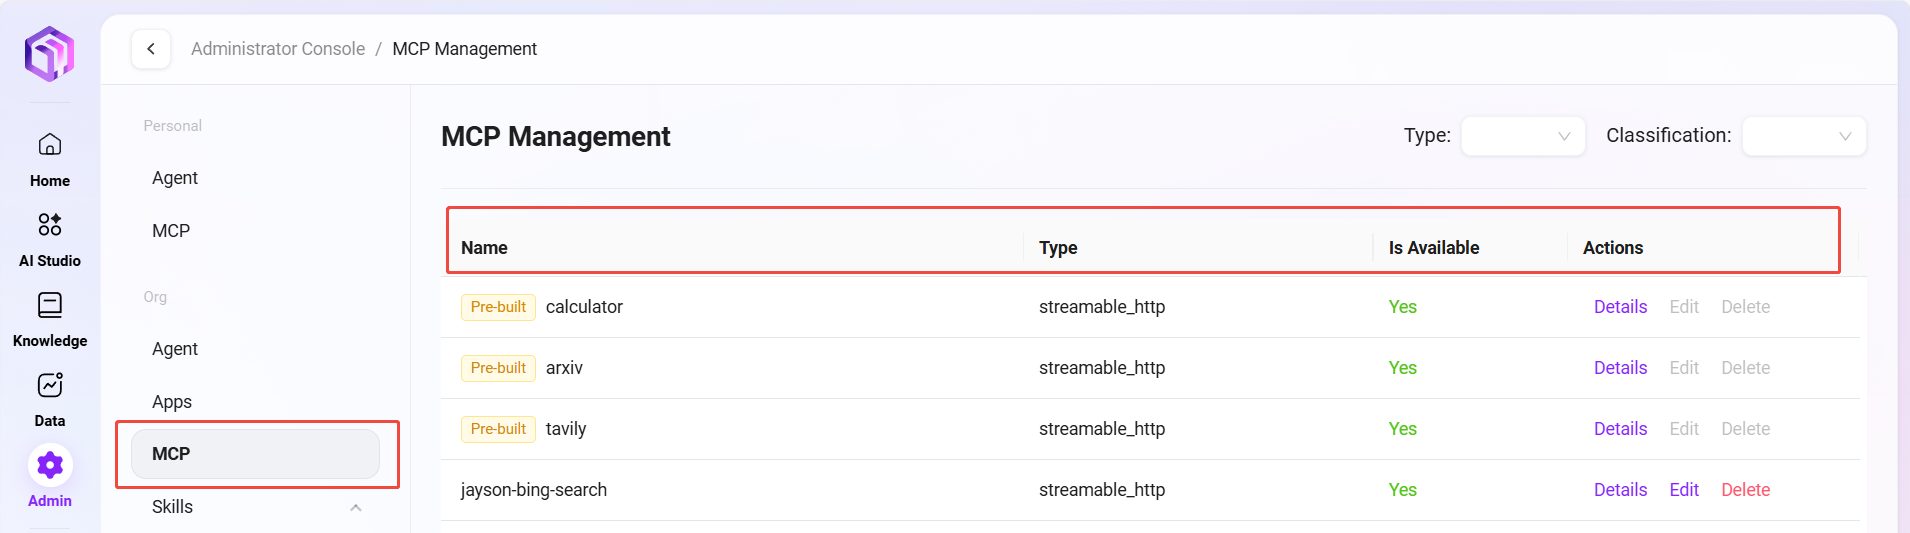
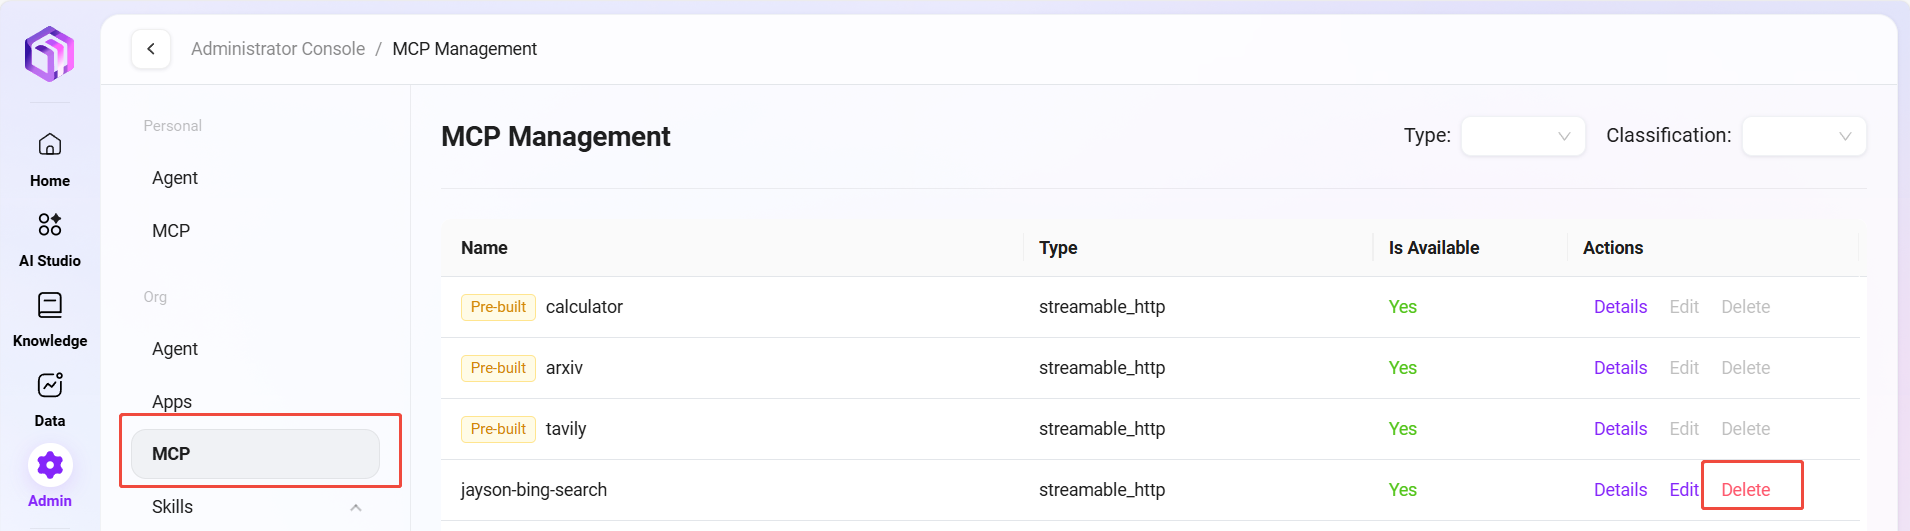
Organization-level MCP Management
Administrators can manage organization-level MCP services in the system. These services provide standardized external capability extensions for the entire organization. Through organization MCP management, administrators can ensure the stability and security of organization-level services.
View MCP List
- Enter the Organization MCP Management page: Navigate to "Organization Studio -> MCP Management"
- View organization-level MCP services: The system will list all organization-level MCP services, including each MCP's name, type, availability, category, and other information.
Edit MCP
- Select the MCP to edit: Select the item to be edited in the organization MCP list.
- Click the "Edit" button: Enter the edit page where administrators can modify the MCP's name, avatar, description, category, and MCP service configuration.
- Save changes: After editing, click the "Save" button to update the MCP configuration.
💡 Tip: System-preinstalled MCPs are read-only and cannot be edited or deleted to ensure the stability of core services.

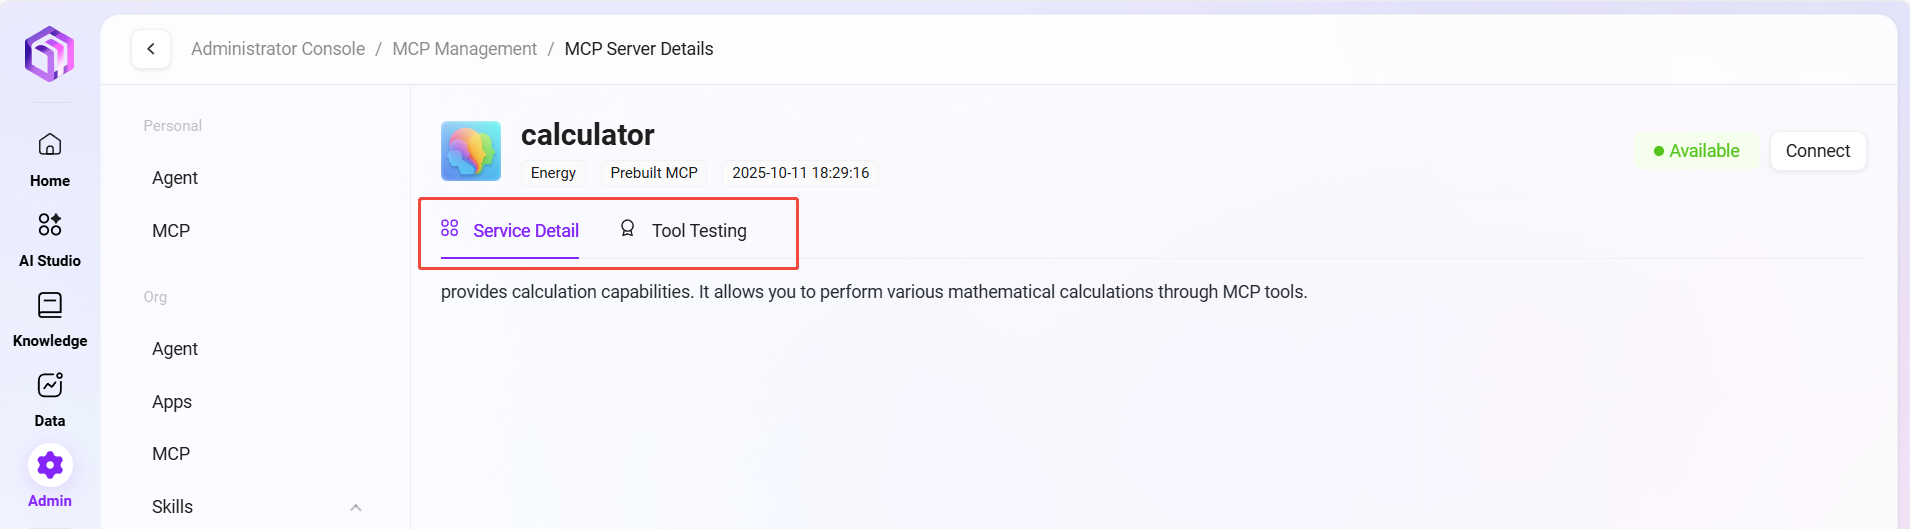
View Details
- Select the MCP to view: Select the item to view details in the organization MCP list.
- Click the "Details" button: View the MCP service details and tool testing.
- Close the details page: After viewing, click the "Back" button to close the details page.

Delete MCP
- Select the MCP to delete: Select the item to be deleted in the organization MCP list.
- Click the "Delete" button: Click the "Delete" button in the operation column.
- Confirm deletion: The system will pop up a confirmation dialog. After confirmation, the MCP service will be disabled and removed.
View Types and Categories
- Enter the filter function: On the organization MCP management page, click the type or category filter.
- Select filter criteria: Choose the desired type or category from the dropdown list.
- View filtered results: The system will display the MCP service list matching the filter criteria.

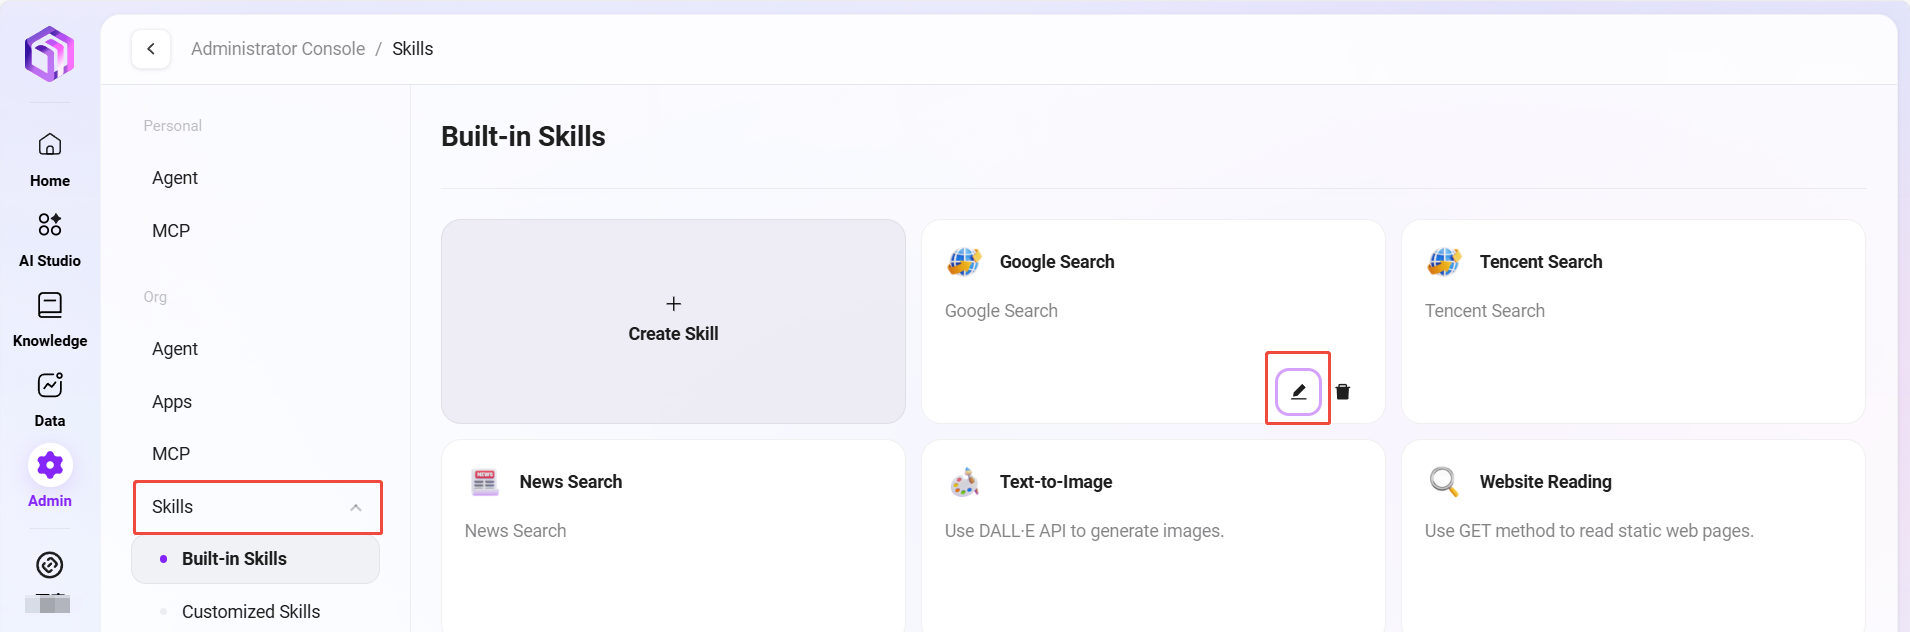
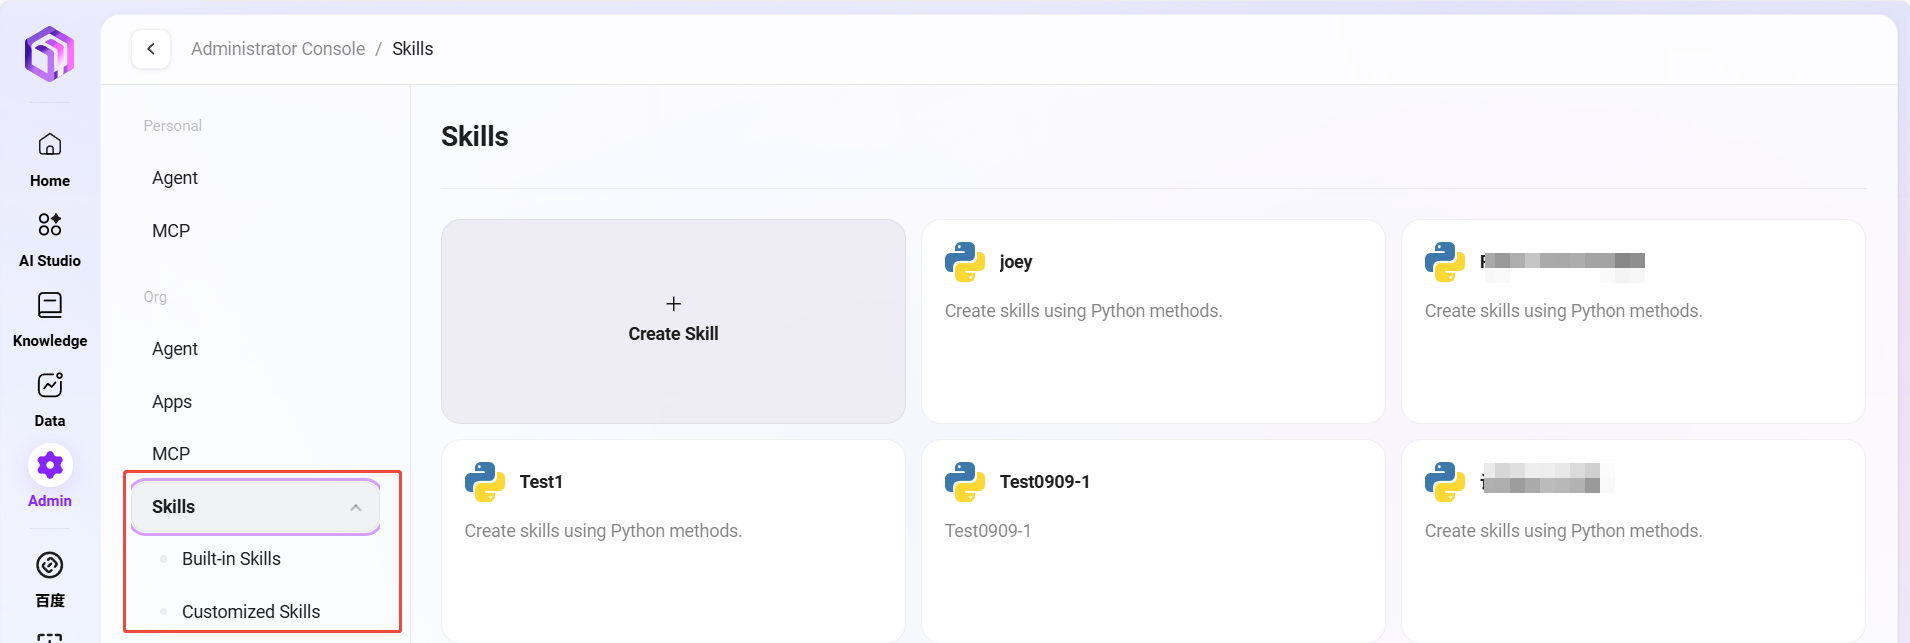
Organization Skill Management
Administrators can manage organization-level skill modules in the system. These skills are functional components that agents can invoke. Through organization skill management, administrators can consolidate and reuse the enterprise's core business capabilities.
View Skill Cards
- Enter the Organization Skill Management page: Navigate to "Organization Studio -> Skill Management"
- View organization-level skills: Organization-level skills are divided into built-in skills and custom skills.
Skill Configuration
- Select the skill to configure: Select the item to be configured in the organization skill list.
- Click the "Configure" button: Click the “✏️” to enter the configuration page, setting the skill's execution parameters, trigger conditions, and permission controls.
- Save configuration: After configuration, click the "Save" button to update the skill configuration.